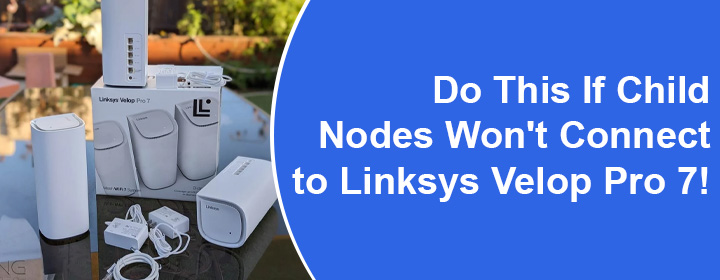
Do This If Child Nodes Won’t Connect to Linksys Velop Pro 7!
Failing to connect child node to Linksys Velop Pro 7 mesh router? Find in this post the effective solutions that you can try to establish the connection between Velop nodes. For your general information, Velop Pro 7 is taken here for referential purposes. Do not hesitate to rely on the same solutions in the event you own any other Linksys Velop model number.
Child Node Can’t Connect to Linksys Velop Pro 7: Fix
Linksys Velop parent node connects to the internet modem. Prior to getting indulged in any troubleshooting, we suggest you check this connection. Only when you have been successful in getting internet from your modem and main Velop node, you can connect child node with ease.
What You Should Do?
Quickly grab a LAN cable and run it through the modem to the PC. Remove the connection between the modem and parent node already. Check if you can connect to the internet. You can try accessing the linksyssmartwifi login page to verify this. If you can connect to internet, this means the problem does not lie here.
Now, connect the modem to the Linksys Velop Pro 7 parent node. Use a spare cable to connect the node to the PC. Access the internet now. Does this work for you?
No:
- Use an alternative cable to connect the device.
- If this does not help, reboot the node and retry.
- Still fails then reset Linksys Velop parent node and set it up from scratch. Now you can easily connect the child nodes.
Yes:
Follow the troubleshooting steps given ahead. You ought to now fix the problem that is preventing the connection between the child node and the parent node.
Troubleshooting Connection Between Parent and Child Node
1. Reboot Child Node
Power it off and unplug it from the power socket. Wait for a while and plug it back in to supply power. This should fix the connection trouble. Use the Linksys Velop login details to access the Linksys app to connect the devices.
PRO TIP: Make sure that you are connecting child nodes one by one. Unplug other child nodes and plug in only one at a time. Also, place the child node close to the parent node during the connection. You can shift it later.
2. Try Ethernet Connection
Connect the Linksys Velop Pro 7 parent node to the child node with the help of an Ethernet cable. After the connection is established, you can remove the cable and the devices will connect wirelessly as well.
3. Reset Child Node to Retry the Connection
Press and hold the Factory reset button available on the child node using a pin. Release the button and wait for some time. The node resets. Now follow these steps to connect it to the main node:
- Log in to the Velop system using the IP 192.168.1.1.
- Click CA at the bottom of the screen.
- Go to the Advanced option.
- Turn off DNS, Client and Node Steering.
- Click Apply.
- Click Wireless.
- Select the wireless channel 44 under 5 GHz settings.
- Click Apply.
- Get back to Connectivity > Add Child Node.
- Follow the steps that are instructed by the setup wizard
The Bottom Line
If you are stuck with connecting problem between the child node and Linksys Velop Pro 7 or any other Velop parent node, then applying the fixes discussed in this post should be helpful. We expect that you are done with setting up your Linksys Velop mesh system by configuring all the child nodes.


