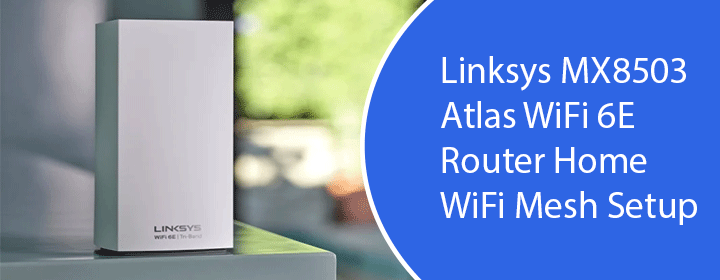
Linksys MX8503 Atlas WiFi 6E Router Home WiFi Mesh Setup
Linksys MX8503 Atlas WiFi 6E Router Home WiFi Mesh setup is an easy process that lets you install 3 mesh nodes in the house for a super-fast WiFi connection. This blog will highlight the key steps involved in the setup process of the mesh system which can be executed with the help of the Linksys application. FYI, the process is very similar to Linksys Velop setup.
Understanding Linksys MX8503 Atlas WiFi 6E Router Lights
Before starting the setup process, let’s make you familiar with various colors flashed by the light present on all the nodes. No matter whether the node is primary or secondary, the light meaning remains the same:
| Light Status | Meaning |
|---|---|
| Blinking blue | The Linksys MX8503 router or the respective node is starting up. |
| Solid blue | The node is connected to the internet. |
| Blinking purple | Linksys MX8503 Atlas WiFi 6E Router Home WiFi Mesh setup is in progress. |
| Solid purple | Your mesh WiFi system is ready for installation. |
| Blinking red | If the Parent node is blinking red, it means it is unplugged from the modem. In case, the child node is blinking red, it means you have placed it too far from the main node (router). |
| Solid red | No internet from the modem is being received. |
| Solid yellow | There is weak connection on the child node. |
How to Set Up Linksys MX8503 Atlas WiFi 6E Router Home WiFi Mesh?
The steps to set up the Linksys MX8503 router are given below. It is advised to arrange an Ethernet cable. This is because the primary or parent node will connect to the modem using a wired connection.
- Switch off the modem and remove the existing router (if you are using any).
- Thereafter, switch on the modem and then the MX8503 router.
- Switch on the child nodes now. They should not be more than 10ft from the parent node.
- Now, connect the mobile phone to the WiFi network of the Linksys MX8503 mesh router.
- The default WiFi credentials are located on the label of the product.
- Launch the Linksys app and tap Set up a New Wi-Fi Network.
- Using an Android device, tap Launch Setup.
- Connect the router (parent node) to the modem using an Ethernet cable.
- Confirm on the app that all the nodes are powered up.
- All the nodes must be flashing the solid purple light.
- When the Internet checking begins, enter the ISP settings.
- Name the WiFi i.e. customize the SSID and WiFi password.
- Tap Continue after accepting T&C.
- Log in to the Linksys Cloud account if you have one.
- In case, the nodes aren’t added, the screen will display the “Adding Your Child Nodes” message.
- Very soon, you will see the “Your Network” screen.
- Connect phone to the new WiFi name using the updated WiFi password.
- Rename the nodes after setting them up.
- In case a node is missed, tap Add More Nodes and follow the on-screen prompts to add it.
- Relocate the child nodes.
- Tap Finish.
- Tap Go to Dashboard as soon as the WiFi is Ready message appears.
This is how to set up Linksys MX8503 Atlas WiFi 6E Router Home WiFi Mesh system. All the nodes must have a solid blue light on the top which means a good internet connection. If you want to manage the nodes via web browser, use the linksyssmartwifi URL.
The Final Words
The guide explaining the Linksys MX8503 Atlas WiFi 6E Router Home WiFi Mesh system setup ends here. Hopefully, using the Linksys app, you will be able to set up the mesh system and improve the WiFi coverage in the house.


