Linksys Velop Bridge Mode Setup – All You Should Know
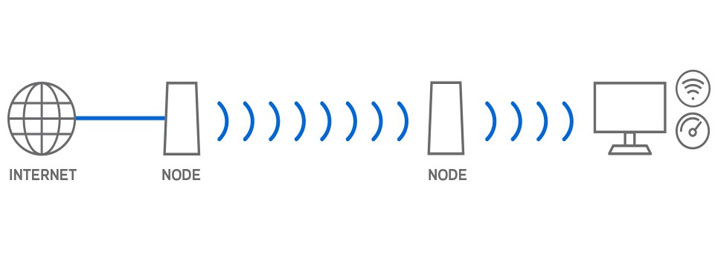
Velop mesh systems are one of the advanced networking gadgets that allow the user to connect to the internet in every corner of the house. However, if you set up your Velop router i.e. the primary node in the bridge mode, you will be able to extend the existing WiFi without creating a separate network. It means all the nodes and WiFi-enabled devices joining the mesh network will be connected to the router only and can communicate with each other. Want to know more about the bridge mode? Read this guide focused on Linksys Velop bridge mode setup.
Before You Install Velop in Bridge Mode
The instructions to set up the mesh system in Bridge mode will be revealed later. But, first of all, let us shed some light on the prerequisites that will help you complete the process without any difficulty:
- Install your router (primary node) first by going through the standard setup process i.e. via the Linksys mobile app or linksyssmartwifi.com web URL. Once you are done with the process, you will be all set to switch to bridge mode with the help of the instructions that will be highlighted later in this blog.
- You should have the latest version of the Linksys mobile app installed on your Android or iOS device. Apart from this, your mobile phone must be flaunting the latest OS version and it should be connected to the WiFi that will be changed to bridge mode.
Moving on, let’s discuss the methods using which you can install your node in the bridge mode.
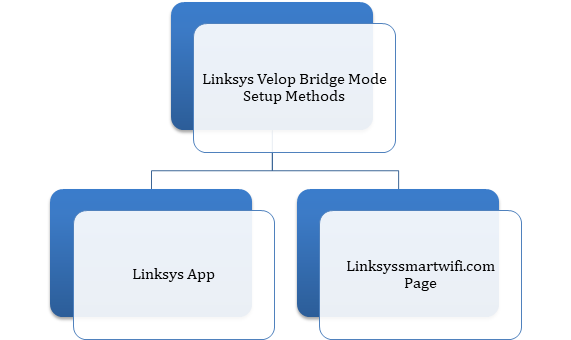
Velop Bridge Mode Setup Methods

Linksys Velop Bridge Mode Setup – Linksys App
The steps highlighted below will help you complete the Linksys Velop setup in bridge mode:
- Firstly, switch on your Velop node.
- Thereafter, connect your mobile device to the Velop network.
- Now, launch the Linksys app.
- Tap Manage Your WiFi for iOS and tap Log in for Android.
- You will get a prompt to log in to your router.
- Either use the Linksys cloud account or enter the router password.
- For this, select Use Router Password.
- The moment you get logged in to the app, select the Menu icon.
- Tap Advanced Settings > Internet Settings.
- Select the Connection type and tap Bridge Mode.
- Tap the Save option and select Enable Bridge Mode once you are ready.
- Changes will be saved and you will be notified that your router is operating in bridge mode.
Linksys Velop Bridge Mode Setup – Linksyssmartwifi.com
Follow the steps given below if you want to install your Velop node in the Bridge mode:
- Verify all cable connections and switch on the node.
- After that, power up your PC and connect it to the mesh network.
- Now, open a web browser and type linksyssmartwifi.com.
- The URL must be entered into the address bar.
Note: You can also use the router’s IP address i.e. 192.168.1.1 instead of linksyssmartwifi.com web URL.
- Key in the Linksys Cloud Account details and click Sign In.
- If you’ve used the IP address of the router, click the “L” icon on the image of the mobile.
- Thereafter, enter the router’s admin password into the Access Router field.
- Now, click Router Settings > Connectivity.
- Move to the Internet Settings tab and click Edit.
- Select Bridge mode in the Connection Type drop-down menu.
- Click Apply > OK.
Here, completes the process of setting up the Velop node in the bridge mode via the web address.
The Final Words
That’s all about Linksys Velop Bridge mode setup. We hope that you will be successfully able to enable it. Remember that the router will get a new IP address when set in the Bridge mode. You can check it through the Linksys mobile app. For this, locate the Network Administration section on the app after the settings are saved. Also, you might notice a temporary disconnection amidst the process. Therefore, once the process completes, you should confirm that the router is working in bridge mode.

